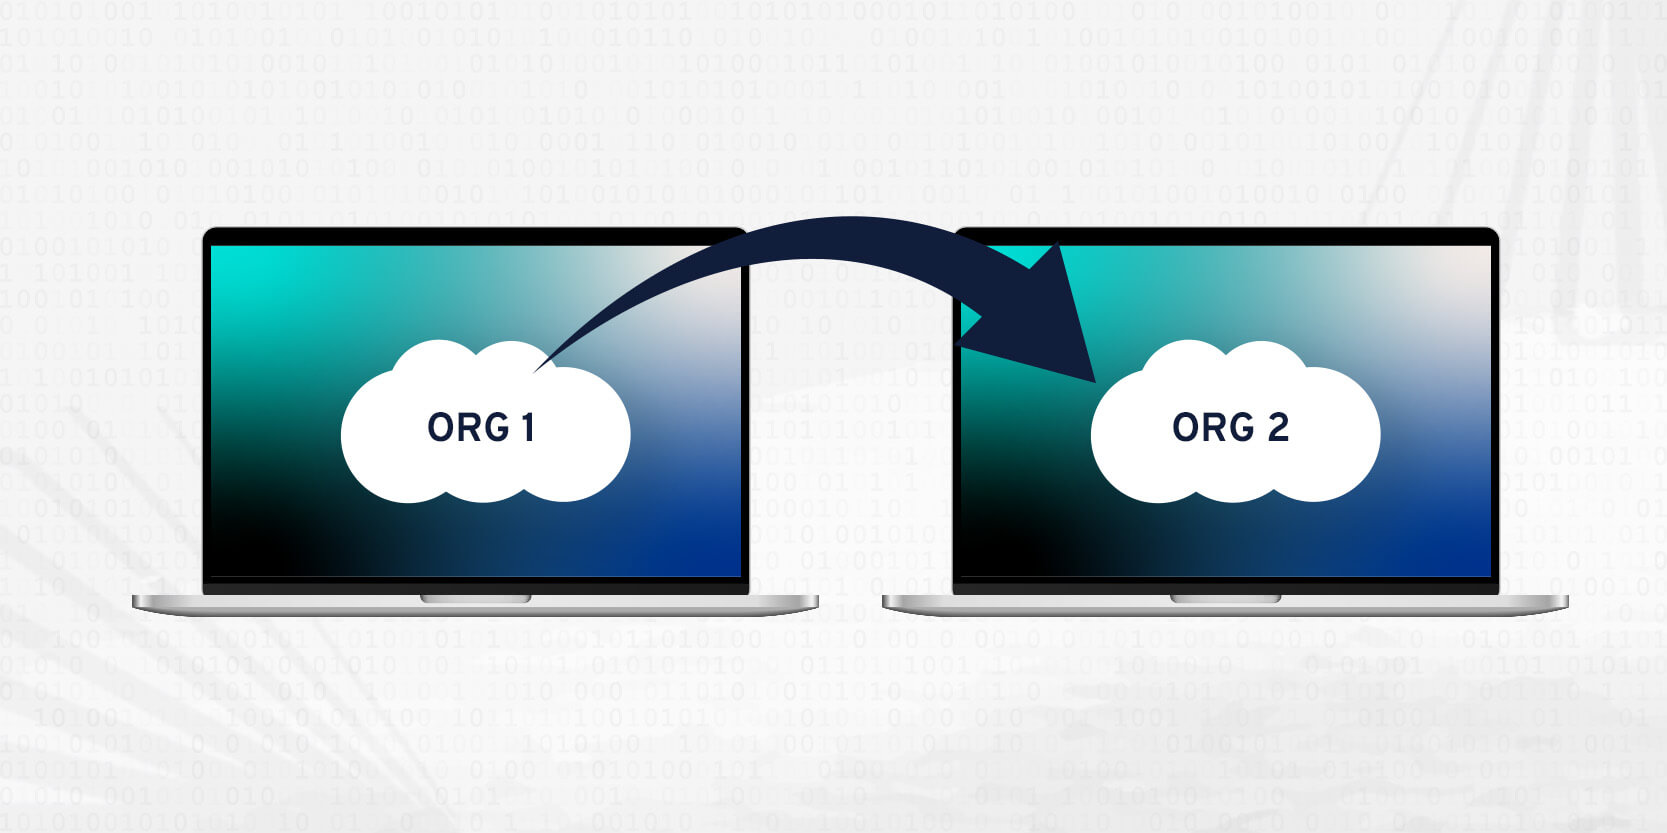
Salesforce metadata migration is a critical process that allows businesses to seamlessly transfer the underlying blueprint of their Salesforce setup from one organization to another. In the world of Salesforce, metadata refers to the behind-the-scenes information that defines how the system operates, encompassing aspects such as page layouts, action rules, and object fields.
Maintaining consistent and accurate metadata across different organizations is paramount for large enterprises with diverse environments. This blog guides you on how to migrate metadata from one Salesforce org to another, ensuring a smooth transition and optimal functioning for your organization.
The Concept of Metadata Migration
Migrating metadata from one Salesforce organization to another is a crucial process that enables businesses to transfer the fundamental building blocks of their Salesforce setup seamlessly. Salesforce stores business data—data about your customers—and metadata—data the system uses to operate. Metadata includes descriptions of how the business data is stored, how the data can be displayed or modified, rules about security, and general system configuration information.
Metadata migration in Salesforce involves transferring these essential components, ensuring consistency and continuity across different organizations. The need for metadata migration arises in various scenarios.
For instance, suppose one part of your company built a set of rules defining a particular business process. Transferring those rules to a different Salesforce installation in another part of your company would require transferring metadata.
Another example is when a company has separate organizations for development, testing, and production. In that case, migrating metadata becomes essential to synchronize changes and maintain a coherent environment. Additionally, metadata migration plays a pivotal role in harmonizing processes and data structures during mergers, acquisitions, or consolidations, where organizations aim to unify their Salesforce instances.
Accurate and efficient metadata migration is critical. Inaccurate or incomplete migrations can lead to system errors, data inconsistencies, and operational disruptions. Careful planning, thorough testing, and employing appropriate migration tools are crucial to avoid these pitfalls. Migration tools allow organizations to carefully select and deploy the desired metadata components, ensuring a seamless transfer of the Salesforce setup.
Traditional Ways to Migrate Metadata
When migrating metadata from one Salesforce org to another, there are two primary built-in tools at your disposal—Changesets and the ANT Migration Tool.
Changesets
Changesets provide a point-and-click interface, making selecting and deploying metadata components between connected organizations straightforward. However, changesets have limitations—they are unavailable in all Salesforce editions and do not support destructive changes, such as deleting metadata or the business data metadata references. This can pose challenges for larger or more complex organizations, requiring meticulous manual selection and deployment.
ANT Migration Tool
Alternatively, the ANT Migration Tool caters to larger and more complex migrations. This tool offers greater flexibility by leveraging ANT and custom jar files to facilitate metadata fetching transfers across any Salesforce org with API access. This command-line utility enables scripted deployments and provides more control over the process. However, manual editing of XML files and the need to manually handle dependencies can increase overhead time and introduce the possibility of errors.
Introducing AutoRABIT for Metadata Migration
When it comes to migrating metadata between Salesforce organizations, AutoRABIT emerges as a comprehensive solution that streamlines and enhances the process. AutoRABIT’s release management solution automates deployment management, ensuring the swift and secure transfer of newly developed functionality.
With AutoRABIT, Salesforce org owners and administrative staff gain access to various key features, including the following:
- New fields
- Apex codes
- Custom objects
- The ability to transfer validation rules
- Other components from development to production
The solution enables the implementation of flexible CI/CD workflows, facilitates easy deployment across multiple environments with a single click and allows for selective deployment of specific metadata types.

AutoRABIT surpasses traditional methods with its ability to deploy changes directly from your Salesforce org or version control system. It offers comprehensive rollback options for remediation, produces detailed deployment logs for analysis and prevents failures by automatically removing non-existent components in the destination org. Additionally, AutoRABIT provides reporting capabilities to validate successful deployments.
Step-by-Step Guide to Metadata Migration With AutoRABIT
Migrating metadata from one Salesforce organization to another is a critical process that requires careful planning and execution. It’s best practice to document the entire migration process, including the steps taken, any challenges faced, and their resolutions.
Follow this step-by-step guide to migrate custom metadata in Salesforce seamlessly:
1. Identify and Select the Source Metadata
Begin by identifying the differences between the two installations and selecting the specific metadata components that need to be migrated from the source. This can include custom objects, fields and workflows. Be sure to include any dependencies—changes the selected changes require—when selecting data to migrate. AutoRABIT’s Org Synchronization feature can help you compare differences.
2. Extract the Differences
Next, extract the metadata components from the source organization into a local directory. You can use Salesforce CLI, the Salesforce Metadata API, or AutoRABIT to retrieve these components.
3. Map the Changes
Using AutoRABIT’s Automated Release Manager (ARM), map the extracted metadata components from the source organization to their corresponding locations in the destination organization. Ensure that the mapping is accurate and all dependencies are accounted for. For example, if each organization has different naming conventions, the details in the extracted structure must be modified to adhere to the destination’s conventions. In the destination organization, ensure the necessary permissions are granted, and any required dependencies are resolved.
4. Set up a Sandbox at the Destination
It’s crucial to have a sandbox or development environment in place for testing purposes before deploying to the production organization. You can create and manage a sandbox with AutoRABIT’s ARM. It provides a user-friendly interface that streamlines the migration workflow.
5. Deploy Metadata to the Sandbox
Deploy the mapped metadata components to the sandbox using AutoRABIT’s ARM deployment functionality. During the deployment to the sandbox, closely monitor the progress and address any errors or conflicts that may arise. AutoRABIT provides detailed deployment logs, making identifying and troubleshooting any issues more straightforward. Ensure that all the metadata components are successfully deployed and functioning as expected.
6. Perform Thorough Testing
After the deployment to the sandbox, thoroughly test the migrated metadata components in the destination organization. Verify that all functionalities, configurations, and customizations are intact. Perform integration testing and validate the data relationships. AutoRABIT’s ARM offers version control and test automation features to ensure a seamless transition.
7. Deploy the Changes to the Production System
Once you’ve fully tested deployment in the sandbox, it’s time to deploy the changes to the destination production system. Again, you can automate deployment with AutoRABIT’s ARM tool.
8. Validate the Migration
Validate the migrated metadata against the desired outcomes and compare the results with the source organization. The Org Synchronization feature in AutoRABIT can perform a component-level metadata comparison between two Salesforce organizations.
Potential Challenges + Troubleshooting
Several challenges may arise during the metadata migration process from one Salesforce org to another. Here are a few potential challenges and troubleshooting steps to address them:
- Dependency issues: One common challenge is dealing with dependencies between metadata components. If a migrated component relies on another component that has yet to be migrated, errors may occur. To troubleshoot this, ensure that dependencies are migrated in the correct order. Identify and resolve any missing or unresolved dependencies before proceeding with the migration.
- Field mapping and data integrity: When migrating custom objects and fields, mapping them accurately in the destination org is crucial. Incorrect mapping can result in data integrity issues or missing data. To troubleshoot this, carefully review the field mappings and verify that the data is correctly mapped and transferred to the destination org. Perform thorough testing to ensure data consistency.
- Validation and deployment errors: Various validation and deployment errors may occur during deployment. These errors can be caused by incompatible metadata versions, permission conflicts, or naming conflicts. To troubleshoot this, closely monitor the deployment logs and error messages. Analyze the specific errors encountered and address them accordingly. Check for any required permissions or changes needed in the destination org to resolve the errors.
- Rollback and recovery: In the event of a failed deployment or unintended consequences, the ability to rollback and recover is crucial. If an error is detected after the migration, troubleshoot the issue and attempt to resolve it. If necessary, rollback the deployment to a previous state and make the necessary adjustments. Regularly back up the metadata and business data to ensure a fallback option is available.
- Testing and validation: Thorough testing and validation are vital for successful migration. Challenges may arise when testing the migrated metadata in the destination org, such as functionality discrepancies, performance issues, or data inconsistencies. To troubleshoot these challenges, perform comprehensive testing across different scenarios and use cases. Validate the migrated metadata against the expected outcomes and make any necessary adjustments or fixes.
When faced with these potential challenges, it’s essential to approach them systematically and methodically. Keep track of the issues encountered, document the troubleshooting steps taken, and seek assistance from experienced resources or support channels if needed.
Best Practices for Metadata Migration
Before embarking on the process of metadata migration in Salesforce, it is crucial to follow certain best practices to ensure a successful and smooth transition.
Pre-migration best practices include setting up a Salesforce sandbox or a dedicated testing environment to thoroughly assess the impact of the migration and identify any potential issues. Additionally, comprehensive documentation of the metadata structure, dependencies, and any customizations is essential to clearly understand the system’s current state.
After-migration best practices involve iterative testing to validate the migrated metadata and ensure it functions as expected. This includes testing functionality, data integrity, and user experience. Regular communication and collaboration between the stakeholders involved in the migration process also significantly address any challenges and align expectations.
By adhering to these and other Salesforce data migration best practices, Salesforce customers can mitigate risks, minimize disruptions, and achieve a successful metadata migration.

Streamline Your Metadata Migration With AutoRABIT
Migrating metadata from one Salesforce org to another is a critical process that requires careful planning, reliable tools, and adherence to best practices such as using a sandbox environment, comprehensive documentation, and iterative testing.
By leveraging tools like AutoRABIT’s ARM, Record Migrator, and Org Sync, organizations can simplify and automate the migration process, ensuring accuracy and efficiency. Feel free to request a demo to learn how AutoRABIT can streamline your metadata migration process.

